Why Make This Recipe
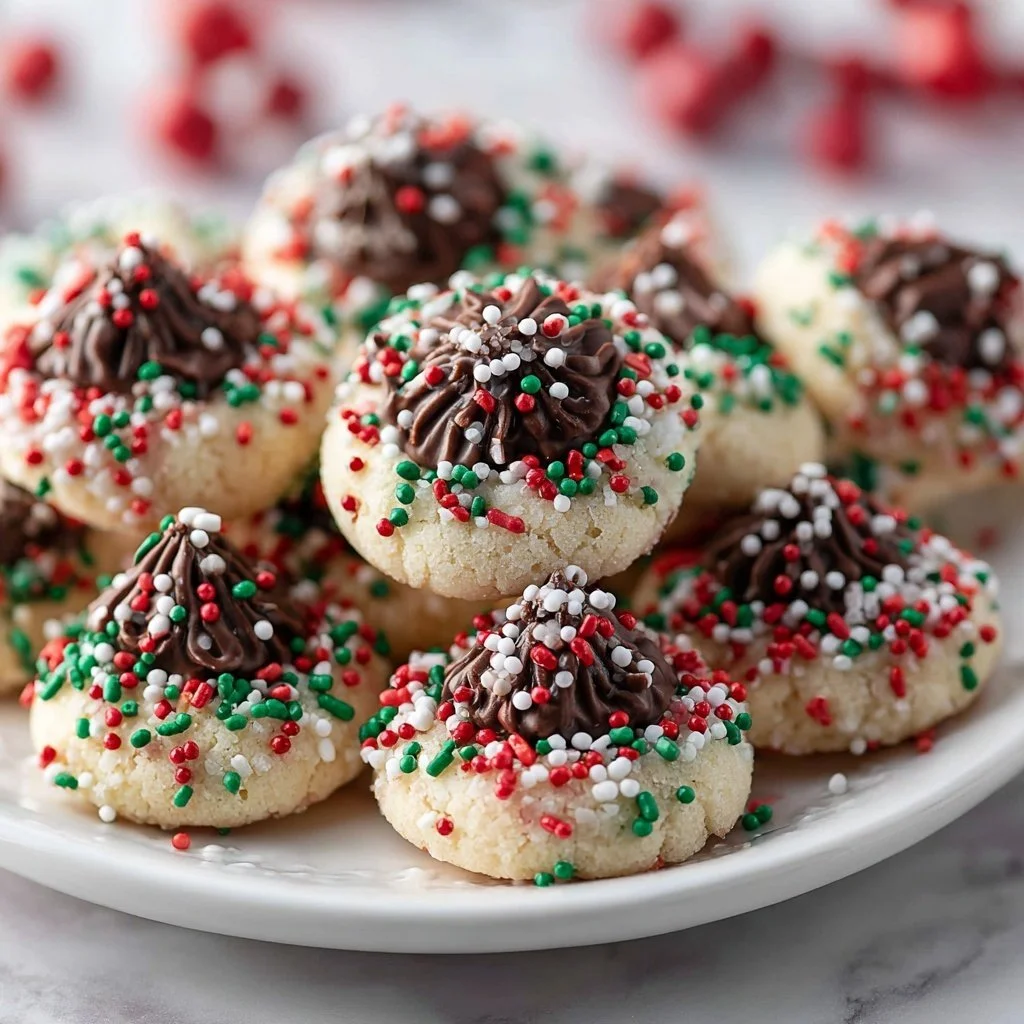
Christmas Kiss Cookies combine the joyful flavors of chocolate and festive cheer. Their delightful blend of rich chocolate combined with a sweet, soft texture makes them perfect for any holiday gathering. These cookies are not just tasty; they also bring a fun element to baking during the holiday season.
Making these cookies is an exciting experience for all ages. Whether you share them with family and friends or leave them out for Santa, they are sure to bring smiles. Moreover, crafting these treats adds to the warmth and togetherness of the holiday time, allowing everyone to participate in the fun of creating delicious sweets.
Equipment Needed for Christmas Kiss Cookies
To create your perfect batch of Christmas Kiss Cookies, you’ll need some essential kitchen equipment. First, a reliable oven to bake those delightful cookies is essential. Make sure to have at least two baking sheets lined with parchment paper for easy cleanup.
An electric mixer is also highly recommended, as it helps achieve a smooth and creamy batter. A medium-sized mixing bowl is required for combining the dry ingredients, while a shallow bowl is needed for the sprinkles. Finally, a wire rack will help cool your cookies properly once they are out of the oven.
What You Need to Make Christmas Kiss Cookies
- 1 cup all-purpose flour
- 1/2 cup unsweetened dark cocoa powder
- 1/4 teaspoon salt
- 1/2 cup unsalted butter, softened
- 2/3 cup granulated sugar
- 1 egg yolk, room temperature
- 2 tablespoons milk or cream
- 1 teaspoon vanilla extract
- 3/4 cup holiday-themed nonpareils and jimmies
- 22 Hershey’s Hugs or Kisses candies, unwrapped
How to Cook Christmas Kiss Cookies Step by Step
To start making your delicious Christmas Kiss Cookies, preheat your oven to 350 degrees F. While the oven is heating, line at least two baking sheets with parchment paper. The parchment paper will help prevent the cookies from sticking and make for easy removal.
Next, you’ll want to combine the all-purpose flour, unsweetened dark cocoa powder, and salt in a medium-sized bowl. This mixture will form the dry base for your cookies, giving them that rich chocolate flavor.
In the bowl of an electric mixer, beat the softened unsalted butter on medium-high speed until it’s smooth and creamy. This step is crucial as it creates the perfect base for your cookie dough. Gradually add in the granulated sugar, mixing until the mixture is light and fluffy.
After combining the butter and sugar, it’s time to add in the wet ingredients. Beat in the egg yolk, milk or cream, and vanilla extract until everything is well combined. This step will give your cookies a nice richness and flavor that is irresistible.
Once the wet ingredients are mixed in, you’re ready to add the flour mixture. Gradually incorporate the dry mixture into the creamed butter and sugar until everything is well combined. When the dough comes together, refrigerate it for at least 30 minutes. This makes the dough easier to handle and less sticky.
After the dough has chilled, prepare a shallow bowl with the holiday-themed nonpareils and jimmies. Take portions of the dough, each about the size of a small walnut, and roll them in the colorful sprinkles. This not only adds a festive look but also a delightful crunch.
Place the rolled dough balls on the lined baking sheets, making sure they are about 2 inches apart. It’s essential to leave space between the cookies as they will spread while baking.
Now, bake your cookies in the preheated oven for 10 to 12 minutes. Once they are baked to perfection, remove them from the oven and allow them to cool on the pans for about three minutes. While they are still warm, gently press a chocolate kiss candy into the center of each cookie.
Finally, transfer the cookies to wire racks to cool completely. They will keep fresh in an airtight container at room temperature for up to one week, allowing you to enjoy your delicious Christmas Kiss Cookies throughout the holiday season.
How to Make Christmas Kiss Cookies
Making Christmas Kiss Cookies involves a few straightforward steps. Start by preparing your ingredients and equipment. Measure out all the ingredients and get your mixer ready. Having everything at hand makes the process smoother.
Combine the dry ingredients first. This helps ensure an even distribution of cocoa and salt throughout the dough. Once you mix in the butter and sugar, you’ll feel how the transformation occurs into a creamy batter.
Don’t rush the chilling step! It’s vital for the dough’s texture. Following this, rolling the dough in sprinkles adds an enjoyable visual element. It’s fun, especially for kids who may want to help in the kitchen.
Carefully pressing the chocolate kisses into the center while the cookies are still warm is essential for a gooey finish. This step ensures that the kiss melts slightly, fusing it into the cookie perfectly.
How to Serve Christmas Kiss Cookies
Christmas Kiss Cookies can be served in a variety of delightful ways. They make a beautiful addition to any holiday dessert platter. Consider placing them on a festive tray along with other holiday treats like peppermint bark or gingerbread cookies.
For a fun twist, try serving these cookies warm with a scoop of vanilla ice cream. The warm cookie and cool ice cream create a delightful contrast that many will enjoy. You might also consider drizzling melted chocolate over the tops of the cookies for extra indulgence.
Another serving idea is to create festive goodie bags. Package individual cookies in clear bags tied with colorful ribbons. This makes for a wonderful holiday gift for friends, neighbors, or teachers.
What to Serve with Christmas Kiss Cookies
The beauty of Christmas Kiss Cookies is that they pair well with various drinks and snacks. Traditional hot cocoa is an excellent option, as the rich chocolate flavor complements the cookies nicely.
Consider pairing these cookies with a chilled glass of milk, which is always a classic treat. For adults, a warm spiced cider or a glass of eggnog adds a festive touch and enhances the holiday experience.
If you’re hosting a larger gathering, serve these cookies alongside other holiday treats. Include items like fruitcake, fudge, or even savory snacks like cheese platters to balance out the sweetness.
How to Store Christmas Kiss Cookies
To keep your Christmas Kiss Cookies fresh, store them in an airtight container. If you place them at room temperature, they will last up to one week. If you want to extend their freshness, consider refrigerating them, where they can last even longer.
If you’ve made a large batch and want to save some for later, freezing is an option. Place the cooled cookies in an airtight container or freezer bag, layering parchment paper between cookies to prevent sticking. They can last up to three months in the freezer.
When you’re ready to eat the frozen cookies, simply let them thaw at room temperature. If you want a warm cookie experience, pop them in the microwave for a few seconds.
Tips to Make Christmas Kiss Cookies
To achieve the best Christmas Kiss Cookies, be sure not to skip the chilling step. It helps the dough hold its shape better during baking.
Use high-quality chocolate kisses or hugs, as they are the stars of this recipe. The flavors they bring are integral to the cookie experience.
If your dough seems too crumbly, add a splash of milk to achieve the desired consistency. When rolling in sprinkles, press them down gently to ensure they stick well.
Variation
Thinking outside the box can lead to delicious variations of Christmas Kiss Cookies. For example, consider substituting white chocolate kisses for the standard chocolate ones. This twist adds a different flavor and a beautiful contrast to the dark cookie dough.
Adding crushed peppermint candies or peppermint extract can also give these cookies a festive holiday flavor. You can use colorful sprinkles that match your holiday décor for an even more fun presentation.
Best Time to Make Christmas Kiss Cookies
The best time to make Christmas Kiss Cookies is during the holiday season, ideally in early December. This allows you to enjoy them throughout the month and share with friends and family.
Baking them for holiday parties or to include in gift baskets is ideal. You can also prepare them in advance of holiday gatherings, making it easy to celebrate the season with sweet treats.
Common Mistakes to Avoid
One common mistake is not measuring ingredients accurately. Baking is a science, and precise measurements lead to consistent results. Always double-check your ingredients before mixing.
Another mistake is not allowing the dough to chill. This can lead to overly flattened cookies, ruining their shape and texture.
Lastly, avoid baking them for too long. Check them at the minimum baking time, as ovens can vary. You’ll want them to be soft while still holding their shape.
Nutritional Notes
While delicious, Christmas Kiss Cookies are a treat to enjoy in moderation. They contain ingredients like butter and sugar, contributing to their rich flavor.
Each cookie provides a delightful combination of carbohydrates and fats, making them a sugary snack perfect for special occasions. However, be mindful of portion sizes, especially during the holiday season.
FAQs
Can I make these cookies ahead of time?
Yes, you can prepare the dough and keep it refrigerated for up to 2 days before baking. This is a great way to manage your holiday baking schedule.
Can I use different types of chocolate in this recipe?
Absolutely! You can experiment with milk chocolate or even flavored chocolate, depending on your preference.
What if I don’t have an electric mixer?
No worries! A whisk or a sturdy wooden spoon will work just fine. It may take longer, but you’ll still achieve a great texture in your cookie dough.
Conclusion
Christmas Kiss Cookies are a delightful treat that embodies the spirit of holiday baking. With their rich chocolate flavor and festive appearance, they bring joy to anyone who enjoys them. Whether for sharing, gifting, or indulging in a sweet moment, these cookies are sure to become a cherished tradition in your holiday festivities.
By following this simple recipe and keeping these tips in mind, you’ll create a batch of cookies that shine during the holiday season. Enjoy the process as you make vibrant memories in the kitchen, and share the love through every delicious bite.